
Hello sweets! So, I've been sprucing up my dining room to reflect my true and passionate love for neutrals, texture, and metallics.
 with detailed DIY instructions.")

And, because I blew my budget on a new console, I couldn't buy the table of my dreams (the Messina table from Ballard Designs). So I did the next best thing and made my own! I used a table purchased at World Market...its no longer available but many of their lovely tables would be good substitutes!
Here's the Before and After:


...and all dressed up for her first meal:


Care for the play-by-play?
Supplies:
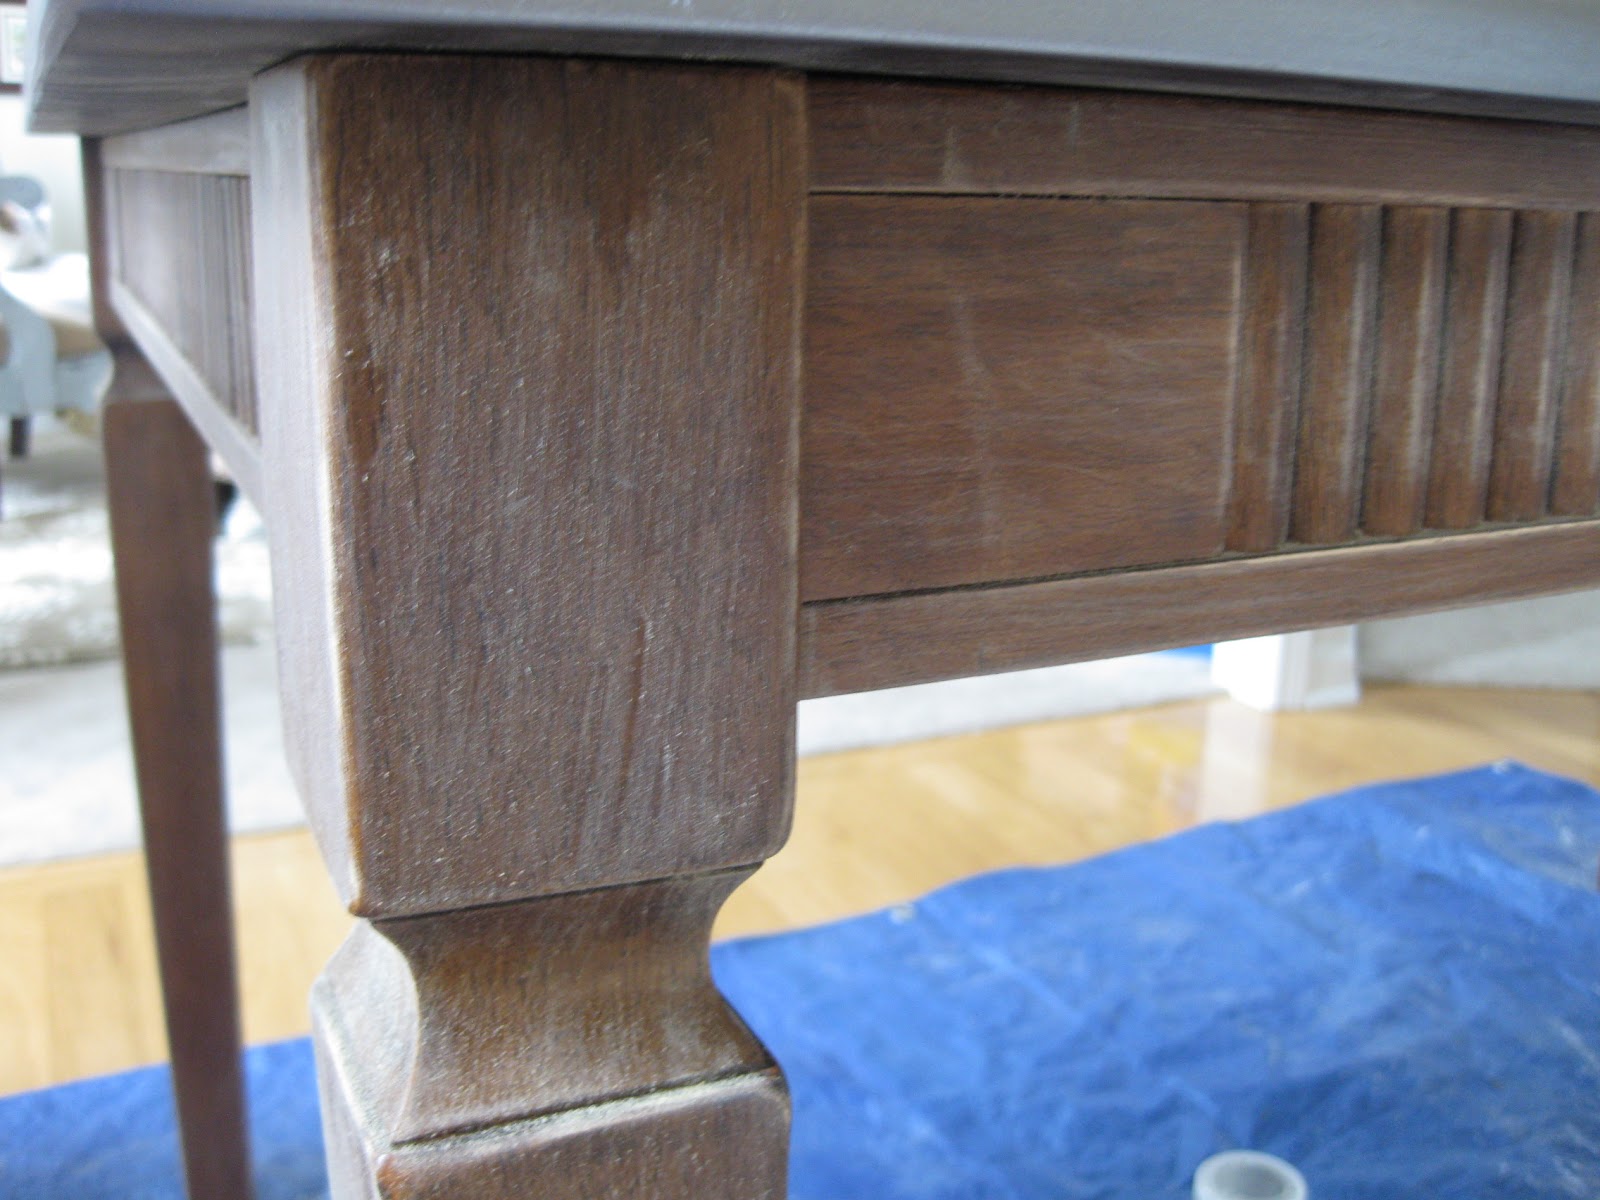
.JPG) |
| Martha Metallic in Thundercloud, Duration Home paint from SW in Creamy, Martha Faux Finishing Glaze, and Johnson Paste Wax (clear). |
Step One: A Light Sanding
Step Two: Prime and Paint the Top
I used Kilz primer tinted as dark as they could make it, and I rolled it on with a small foam roller. Then I failed to take a picture, but you can imagine it, right? Okie dokie. I then painted the top with my metallic paint:
Step Three: Glaze Like Crazy
I mixed my Martha faux finishing glaze with three different acrylic paint colors (in three different bowls). |
| Acrylic paints in black, white, and pearl white. |

Step Four: Seal That Baby
I love furniture wax. The clear Johnson wax gives painted furniture a hard, durable finish, and it is easy to apply. I have spilled on my painted table top and wiped up both oil and wine with no problem. Love that!
Step Five: Paint & Distress the Table Legs
I slapped on three coats of my Sherwin-Williams paint in one afternoon, and distressed that sucker the next day during naptime. That's it! So, here's Ballard's table:
 |
| Source: Ballard Designs |
And, once again, here's mine:

How'd I do?

P.S. This post may contain affiliate links, but all opinions are 100% mine, all mine.
P.P.S. Lovin' the Linky's at:


Fantastic!!! Your table is gorgeous! Great job. This is definitely getting pinned to my painted furniture board!
ReplyDeleteHm... I think it's... AMAZING! I like it better than the original, actually. Clever!
ReplyDeleteYou fooled me. I thought you were going to show us how you used real metal. Great paint job.
ReplyDeleteJanet
that is a beautiful table, I absolutely love it!
ReplyDeleteWow!! Well done!! I'm your newest follower and I'd love it if you followed back. I would love it if you linked up to my little party: http://www.nutmegplace.com/2012/03/showoff-saturday-4.html
ReplyDeleteHope to see you there!
I like yours better.
ReplyDeleteKrista
Yup, I like yours better too! The detail on your table base makes it more interesting than the Ballard one.
ReplyDeleteYour table turned out awesome! You've inspired me to try it:)
ReplyDeleteOh, wow! That is stunning! Great job.
ReplyDeleteLove, love this table! Check out my page. I have passed along the Liebster blog award to you : ) Stephanie
ReplyDeleteLOVE YOUR TABLE IT TURNED OUT BEAUTIFUL. I WOULD LOVE TO FEATURE IT ON MY REVIVAL MONDAY, PLEASE LET ME KNOW IF THIS IS OK WITH YOU,
ReplyDeleteLAUREN
You did a FABULOUS job! Love the new look!
ReplyDeleteI really love this! You did a fabulous job! I just had to pin it!
ReplyDeletexo Becca
Michelle,
ReplyDeleteI've featured your table on this weeks Show Off Saturday! http://www.nutmegplace.com/2012/03/showoff-saturday-5.html
Thanks so much for sharing it with us!
Wow, what an amazing project!Thanks for the step by step instructions!
ReplyDeleteKaree
This comment has been removed by the author.
ReplyDeletegood idea to use the cheapo metallic acrylic to add to the glazing medium!
ReplyDeleteI like yours better!
ReplyDeleteThanks Barbara!
DeleteWOW! This is an amazing project! That table is also my dream table and I'm so glad I found your tutorial! I think I may try this out on an endtable in our family room first and then search for a table on Craiglist to makeover! I'm so inspired by this and honestly, I like yours better!!
ReplyDeleteThanks so much! If you try it I would LOVE to see the results:)
DeleteThis is so amazing. I have a table bought at Pier One imports years ago...it was basically almost like an unfinished table, so I painted and distressed the legs like you did...but just stained the top (that pretty white legs with darker top look). But, many kid and adult craft projects later, the top's pretty trashed, so want to try your technique. But: the table has indentations in it (sorta like what you see in between floor boards). Will it work given that?
ReplyDeleteHey Sandi! I think it will still work with the indentations as long as you make sure your sanding and priming are done really well. Also, I can't praise the furniture wax enough...we don't do a lot of craft projects on that table but my boys have played with their legos on it for many many hours and I don't have one scratch on the painted finish! I've even been surprised how well it has held up. I would love to see the results if you do try it:)
DeleteWOW! that's it...just WOW!
ReplyDeletei love galvanized, zinc, you name it...so this is a must try...just need to find the right piece to do it on.
it turned out bee.u.ti.ful.
Thanks Judi! If you do try it I would love to see your project!
DeleteThe table is amazing. I flipped back and forth between your before and after. Due to the angle I couldn't see the side detail under the table top. your finish really brought that feature out! You did a great job.
ReplyDeleteThank you! I appreciate your comment and the positive feedback:)
DeleteGreat tutorial! I like yours better! I am scared of tables....but may give this a try!!!
ReplyDeleteYou can do it! Let me know when you try it and how it came out:)
DeleteGreat tutorial! I like yours better! I am scared of tables....but may give this a try!!!
ReplyDeleteI love this table! You did an awesome job!! I'm definitely a new follower, now!
ReplyDeleteThanks Jen! So glad to have you here and keep watching because I have some DIY projects coming up soon:)
DeleteI absolutely love it! I've had my eye on this table for so long but would never be able to get the hubs to agree to it's lofty price tag. Your table is gorgeous!
ReplyDeletemymulberrytree.blogspot.com
Thanks so much, Ashley! Every time I see the table in the Ballard catalog I get even happier I made one for myself:)
DeleteThis comment has been removed by a blog administrator.
ReplyDeleteI've had a question about how I distressed the painted finish on the table legs. All I did was use sandpaper (I think it was a medium grit) and a careful touch!
ReplyDeleteSooo glad I found your site. I have 2 growing boys that have damaged my pretty dining table. I was ready to cover it in zinc, but my husband said he loves wooden tops. Your diy can give us both! Did you sand a bit on the corners after you painted to give it a more worn look?
ReplyDeleteHi! I did sand the white painted portions. So sorry about the delay in my reply--I usually filter out anonymous comments because I get so much spam...good luck and would love to see your table re-do!
DeleteHi Michelle, I am in the process of this project and I had a question on what the name of your paint you used for the legs.. Also I painted the table top with the metallic paint, but still have to buy the faux glaze is that okay that I let the metallic paint dry? Hope you can help me! Thank you!
ReplyDeleteOops! Only just now saw this comment, so sorry! How did your table turn out? My legs were painted in SW Creamy.
DeleteLoved your table so much I am trying to replicate it...but I'm having difficulties :S How did you get your metallic paint to go on so glossy smooth? You have zero brush strokes in yours and mine has a gazillion. Plus kind of bumpy (maybe I put the primer on too thick?) It's just not the smooth finish that I was hoping for. Maybe I'm not using the right type of roller/brush. Any tips?
ReplyDeleteHi there! If I were you I would lightly sand out your bumps, then start over with your metallic paint. I used a roller to apply my primer, not sure if I did with the metallic, but you might want to do so. I like the mini rollers for furniture. Also, are you using Martha Stewart paint? I thought it was a great product and can't vouch for anything else. Remember most DIY projects come with some kind of glitch, you just need to keep at it and do your best! Please let me know how it turns out!
ReplyDeleteWOW! This is da bomb of a project! I can't believe that is not real Zinc. I am pinning this technique, hopefully will be able to try it soon. I think I like your table better than the gorgeous Ballards one. If you have a moment, I would love for you to share at Redoux!
ReplyDeleteThanks so much! I will be sure to stop by:)
DeleteWow...just Wow! I love this. I've done a variety of metal finishes and I love this. I will be featuring it at the party on Tuesday. Thank you for sharing it at to What We Accomplished Wednesdays. Have a great week! ~Deborah
ReplyDeleteThank you Deborah! Can't wait to see the feature!
DeleteThank you so much for sharing! I am featuring at my party today!
ReplyDeleteAwesome! Thanks so much GTC!
DeleteThis is so beautiful!! I'm in the process of doing this with my dining table. Did you sand the table top as well?
ReplyDeleteGreat! I'm so glad that you're giving it a shot! Yes I lightly sanded the top too. Good luck and let me know how it turns out!
Delete